If you've ever used Excel or Google Sheets, you already know how powerful spreadsheets are. They combine simplicity with depth, a grid of editable cells that somehow can perform calculations, link to other cells, and support infinite levels of undo and redo.
Now imagine you are in a machine coding round, and the interviewer says:
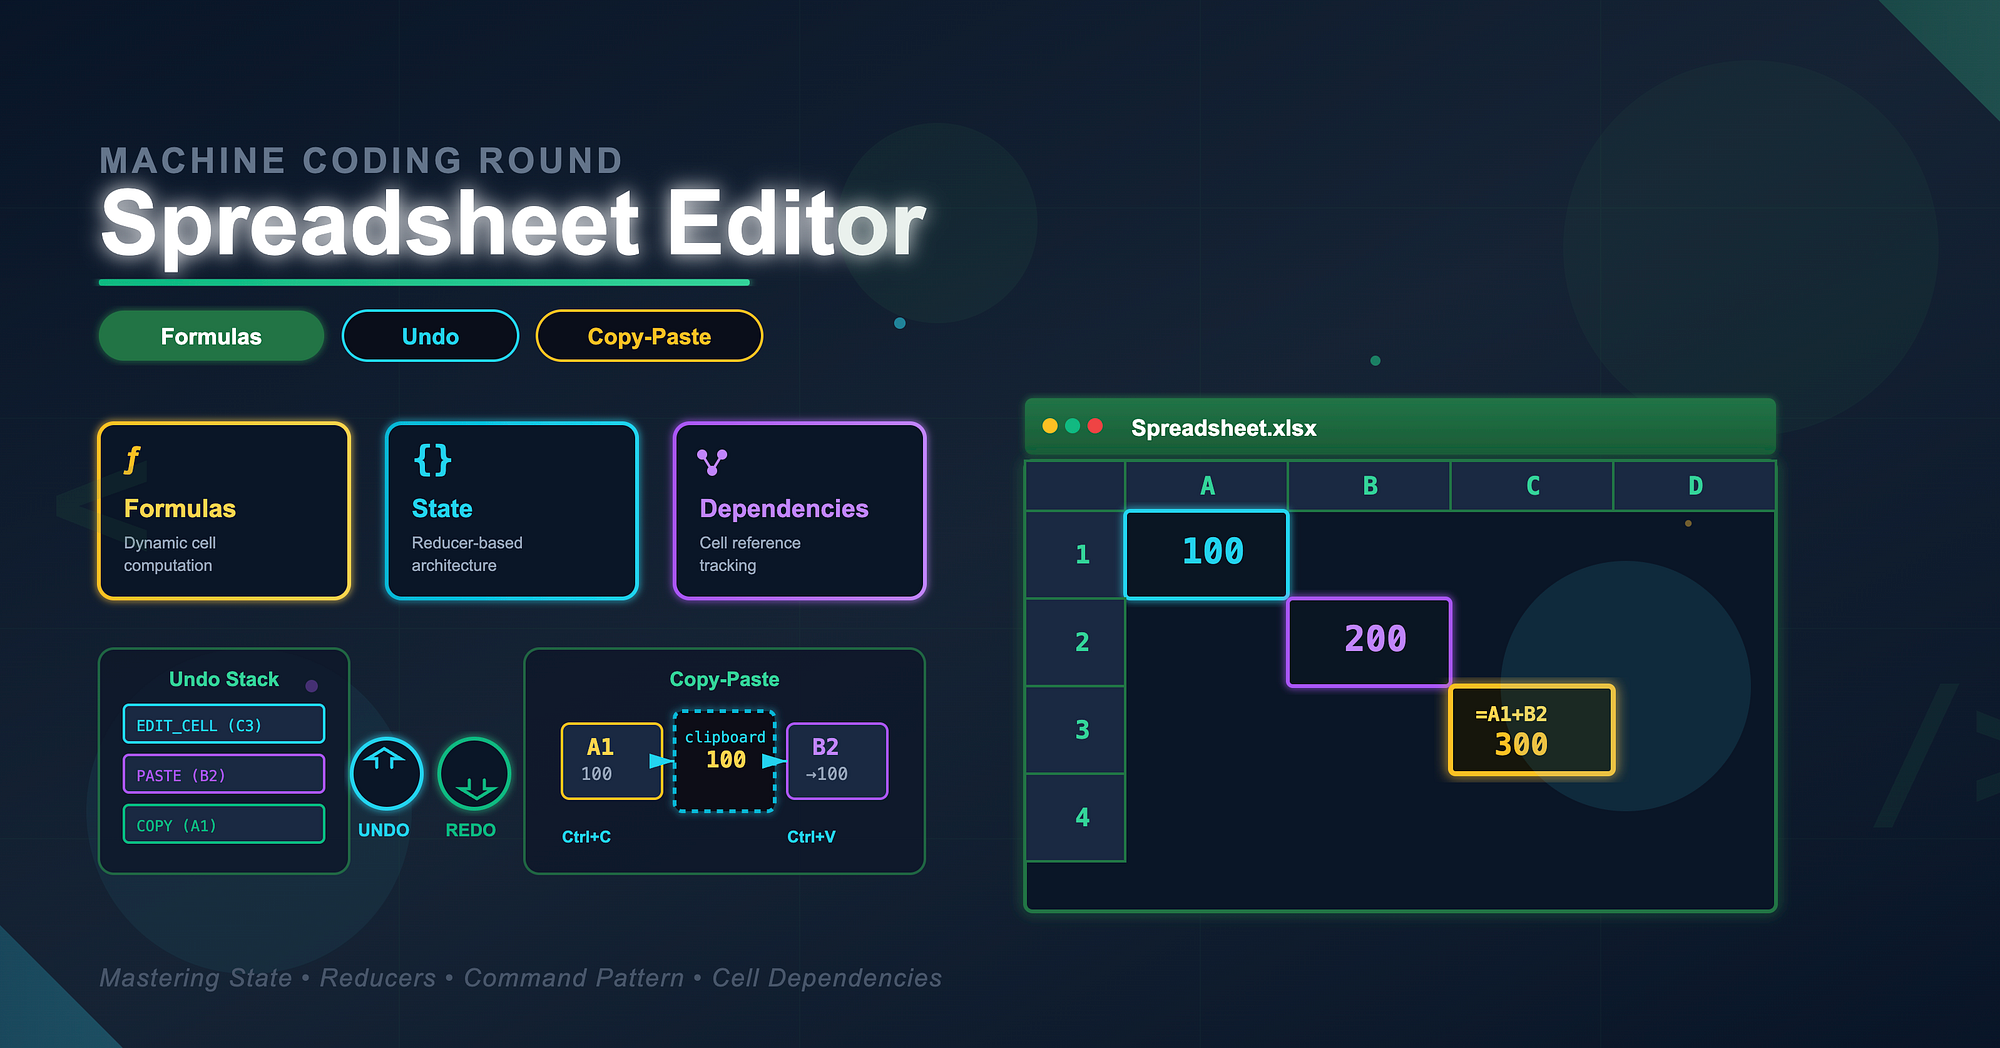
"Build a mini spreadsheet editor with formulas, copy-paste, and undo-redo."
Sounds fun, right? It's one of those problems that looks straightforward but tests your ability to design modular state, handle complexity, and think in systems rather than components.
Let's walk through how we can approach this.
Why This Problem is Common in Machine Coding Rounds
Spreadsheet editors are a favorite interview problem because they combine:
- UI rendering challenges (handling large grids efficiently)
- State management (each cell's value and dependency tracking)
- Algorithmic logic (evaluating formulas and references)
- Command pattern design (undo and redo functionality)
You are being tested on your ability to model real-world interactions in code while keeping the system maintainable.
Requirements Breakdown
Let's first restate what the interviewer is asking for:
- A grid of editable cells (say 10x10 for simplicity).
- Each cell can hold plain text or a formula like =A1+B2.
- Copy and paste between cells should work.
- Undo and redo operations should work for edits.
Let's now go step-by-step through the design.
Step 1: Grid Structure
We can represent the spreadsheet as a 2D array of cell objects.
const initialGrid = Array.from({ length: 10 }, () =>
  Array.from({ length: 10 }, () => ({
    value: "", // what is displayed
    formula: "", // original input, if it starts with '='
  }))
);
For rendering, a simple table or grid layout works:
function Spreadsheet({ grid, onCellChange }) {
  return (
    <table>
      <tbody>
        {grid.map((row, rowIndex) => (
          <tr key={rowIndex}>
            {row.map((cell, colIndex) => (
              <td key={colIndex}>
                <input
                  value={cell.formula || cell.value}
                  onChange={(e) =>
                    onCellChange(rowIndex, colIndex, e.target.value)
                  }
                />
              </td>
            ))}
          </tr>
        ))}
      </tbody>
    </table>
  );
}
This covers basic editing.
Step 2: Managing Cell State
Each cell can have:
- A raw input (what the user typed).
- A computed value (after evaluating formulas).
We can manage the entire spreadsheet state in a single useReducer or Zustand store.
function spreadsheetReducer(state, action) {
  switch (action.type) {
    case "UPDATE_CELL":
      const { row, col, value } = action;
      const newState = [...state];
      newState[row][col] = { ...newState[row][col], formula: value };
      return recalculateGrid(newState);
    default:
      return state;
  }
}
This ensures all recalculations happen after each edit.
Step 3: Evaluating Formulas
The fun part: turning =A1+B2 into actual numbers.
We can write a small formula parser. For simplicity, let's handle only basic addition:
function evaluateFormula(formula, grid) {
  if (!formula.startsWith("=")) return formula;

  const expr = formula.slice(1);
  const tokens = expr.split("+");
  const values = tokens.map((token) => {
    token = token.trim();
    if (/^[A-Z][0-9]+$/.test(token)) {
      const col = token.charCodeAt(0) - 65; // 'A' -> 0
      const row = parseInt(token.slice(1), 10) - 1;
      return Number(grid[row][col].value) || 0;
    }
    return Number(token) || 0;
  });
  return values.reduce((a, b) => a + b, 0);
}
Then we call this during grid recalculation:
function recalculateGrid(grid) {
  const newGrid = grid.map((row) => row.map((cell) => ({ ...cell })));
  for (let r = 0; r < newGrid.length; r++) {
    for (let c = 0; c < newGrid[r].length; c++) {
      const cell = newGrid[r][c];
      cell.value = evaluateFormula(cell.formula, newGrid);
    }
  }
  return newGrid;
}
Now =A1+B2 works as expected, and updates propagate whenever a referenced cell changes.
Step 4: Copy and Paste
Copy-paste can be managed using a temporary "clipboard" variable in state.
const [clipboard, setClipboard] = useState(null);

function handleCopy(row, col) {
  setClipboard(grid[row][col]);
}
function handlePaste(row, col) {
  if (!clipboard) return;
  dispatch({ type: "UPDATE_CELL", row, col, value: clipboard.formula });
}
If you have time, implement keyboard shortcuts using event listeners.
Step 5: Undo and Redo
Undo-redo can be implemented using two stacks:
- undoStack: stores previous states
- redoStack: stores undone states
const [undoStack, setUndoStack] = useState([]);
const [redoStack, setRedoStack] = useState([]);

function updateGrid(newGrid) {
  setUndoStack([...undoStack, grid]);
  setGrid(newGrid);
  setRedoStack([]);
}
function undo() {
  if (!undoStack.length) return;
  const prev = undoStack.pop();
  setRedoStack([...redoStack, grid]);
  setGrid(prev);
}
function redo() {
  if (!redoStack.length) return;
  const next = redoStack.pop();
  setUndoStack([...undoStack, grid]);
  setGrid(next);
}
This structure can be easily adapted for useReducer too.
Step 6: Putting It All Together
Once you have:
- A grid structure
- Formula evaluation
- Copy-paste logic
- Undo-redo stacks
You essentially have a mini spreadsheet engine.
From here, you can extend it:
- Add dependency graphs for dynamic recalculation.
- Add memoization for performance.
- Add serialization to save and load sheets.
The interviewer might not expect all these features, but showing awareness of them demonstrates senior-level design thinking.
Key Lessons
- Model your data well. Each cell is a node with inputs and outputs. The better your structure, the easier your logic.
- Centralize state updates. Always mutate through a reducer or manager to maintain consistency.
- Keep side effects isolated. Formula parsing, evaluation, and copy-paste should be modular.
- Think incrementally. Deliver a basic version early (editable grid), then layer features (formulas, undo).
Why Interviewers Love This Problem
It tests:
- How you design a data model for complex UI.
- How you organize logic for predictable state updates.
- How you plan and prioritize during limited interview time.
A spreadsheet editor is not about formulas. It's about managing complexity gracefully.
Wrapping Up
Every spreadsheet cell is simple, yet the system is powerful because of how these simple cells connect. That's the same mindset that great frontend engineers apply; composability, modularity, and predictable data flow.
So the next time you face a machine coding round, remember: it is not about completing every feature. It is about designing something that could grow into a real product.